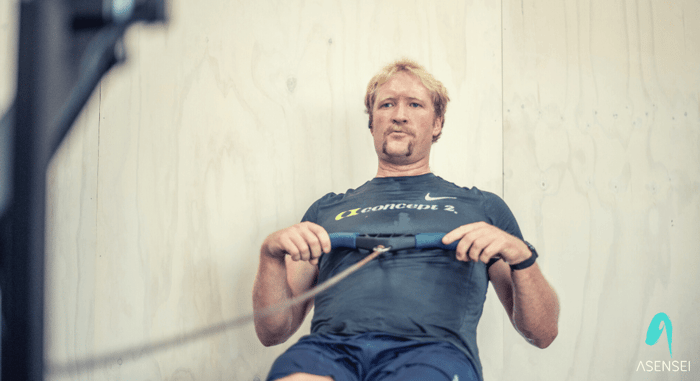
The asensei youtube channel features livestream workouts from coach Eric Murray every week which are packed with insights and tips from one of rowing's all-time greats. In the Coaching Gold series we will highlight some of Eric's tips and insights from his Q&A sessions at the end of each workout and from webinars. This article we focus on foot placement and the science behind it - how to determine the best possible foot position when on the rowing machine.
Rowing foot placement and the science behind it
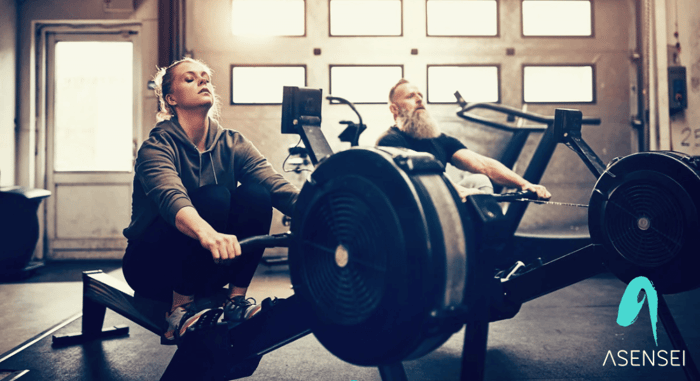
Within the rowing stroke, the feet are one of the most important connections points – they provide the surface upon which we push away and derive a lot of the power generated by our legs and back. Today’s article comes from one of Eric’s webinars in April 2020, which for many around the world was midway through the first COVID-19-induced lockdown.
The general rule is to set the adjustable heel cup so that the strap crosses at the ball of the foot. For most athletes, this is where the foot naturally flexes when the heels raise.
Eric opens by explaining that when he was involved with the New Zealand national team, there was ongoing research around foot placement which covered both height of the feet and the angle of attack. Concept2, whose machines are compatible with asensei, typically angle the feet at around 42 degrees, which Eric explains is ideal, other compatible rowing machines such as WaterRowers and FluidRowers are similar and allow similar adjustments.
Depending on the size of your feet, you’ll need to adjust the stretcher. Eric says that they would often alter the stretcher depending on the type of piece they were doing. For instance, a shorter sharper burst would require a flatter foot stretcher (feet higher), so you encounter less resistance in engaging the feet and driving backwards. If the stretcher is at a steeper angle (feet lower), it means as the legs reach maximum bend at the catch, it requires almost an upward push before going through the key drive phase of the stroke.
Eric finishes by saying that if you’re more flexible, adjust your stretcher to be a little flatter. If you’re less flexible, keep it steeper as it allows you to really access the length at the front-end of the stroke.
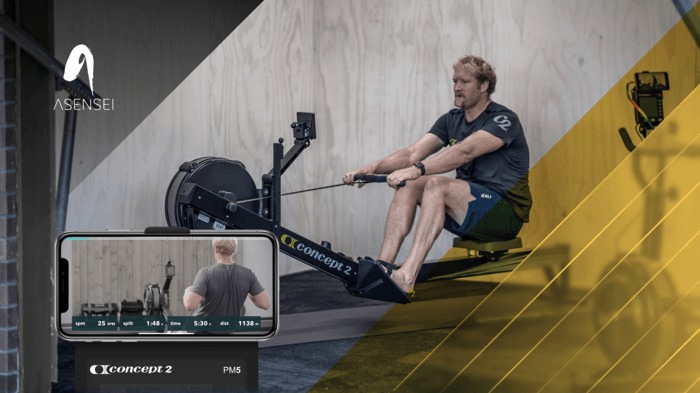
Watch Eric explain in his own words and demonstrate in the video below (3mins):
DOWNLOAD ASENSEI TODAY
Rowing is better in the asensei app. You will have all the key stats displayed on screen during your session, you will have asensei set you personalized goals, you won't need to program the machine or take note of your results, asensei does it all.
The app also features a curated selection of livestream workouts, with personalised goal setting and tracking in the (RE)LIVE program.
asensei is FREE to download and with no commitment you can trial the first 3 workouts in the (RE)COMMIT program and also workouts from MASTER THE BASICS, (RE)FOCUS, SWEAT FACTORY and BE A DARK HORSE. All you need is an iPhone and access to an asensei Compatible rowing machine from Concept 2, WaterRower or FluidRower with a bluetooth capable monitor.
|